Blur the background of your portrait photo
Soften the background of a portrait while keeping the original setting. Work on a still image locally in your browser.
Start editing ↗Choose your frame.
Open a portrait or capture one with your camera. Processing runs in this browser after you choose a photo.
Choose a local image or take a camera photo.
No photo selected.
PNG keeps transparency on the Transparent preset. JPEG always has an opaque background. Downloads begin only when you press a button.
Pick a background
Change the scene without opening your portrait again.
Interiors
Outdoors
Creative
Colors and effects
What this edit does
Soften the background of a portrait while keeping the original setting. Instead of replacing the room or scenery with a new image, this effect blurs the area behind the detected person. Adjust the strength to reduce distractions or leave more of the surroundings recognizable.
When to use this look
Tidy up a busy webcam portrait, soften a room behind a profile photo or draw attention to a face while retaining some context.
Example: before and after
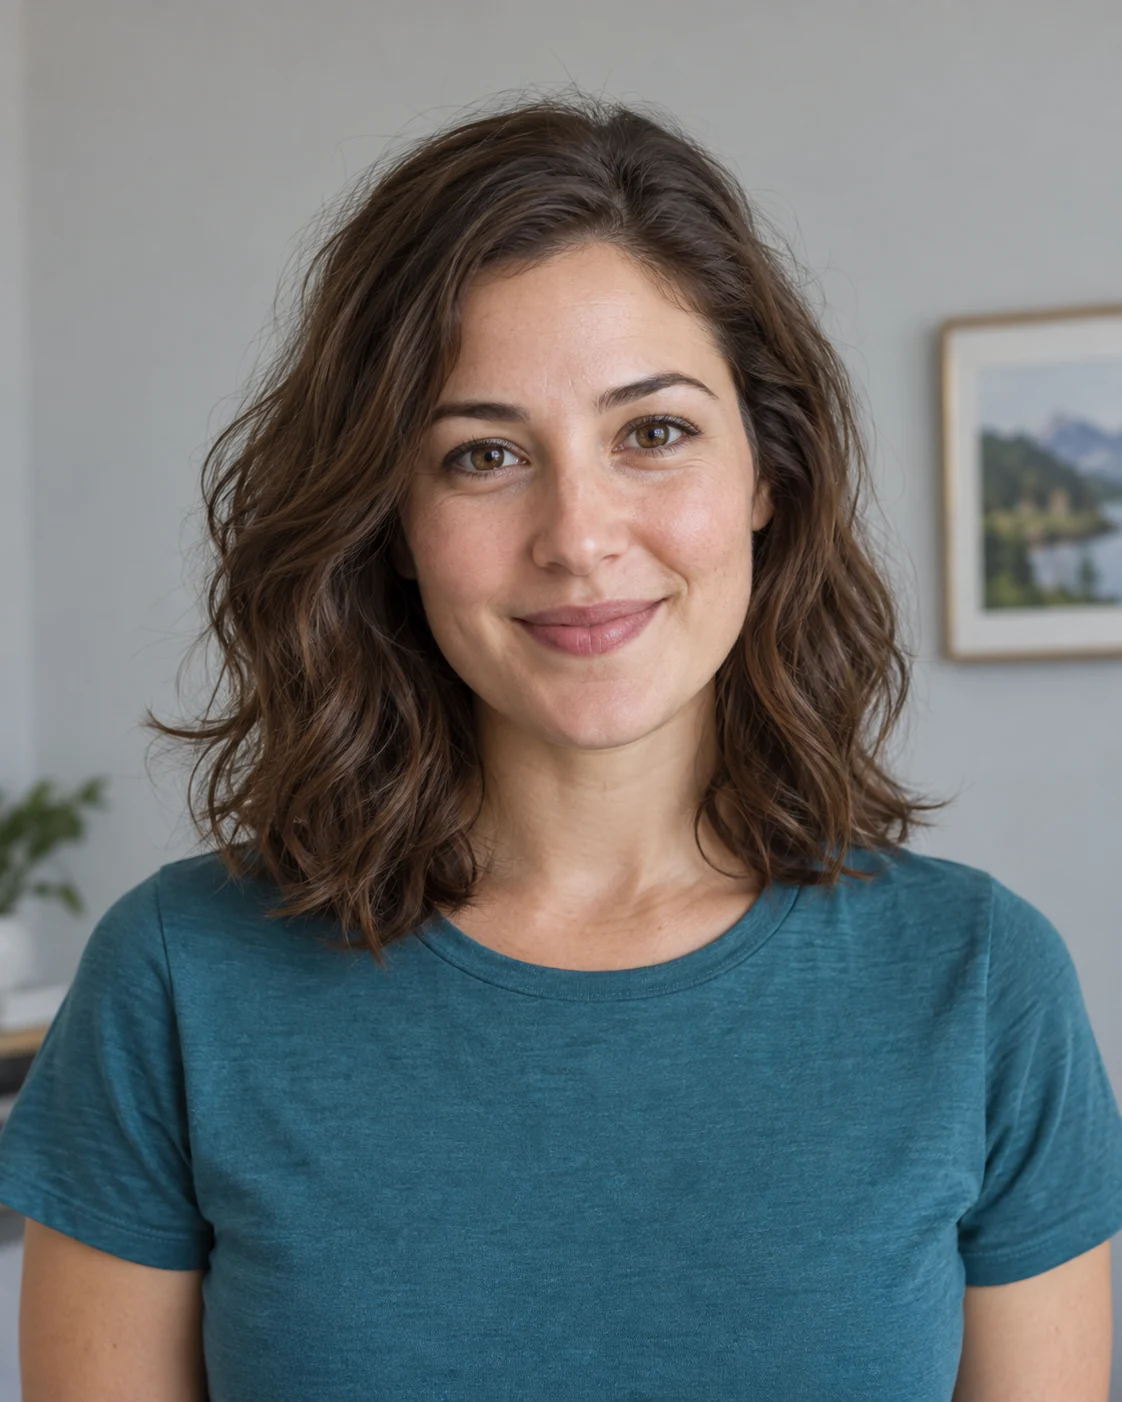 Before · sample portrait
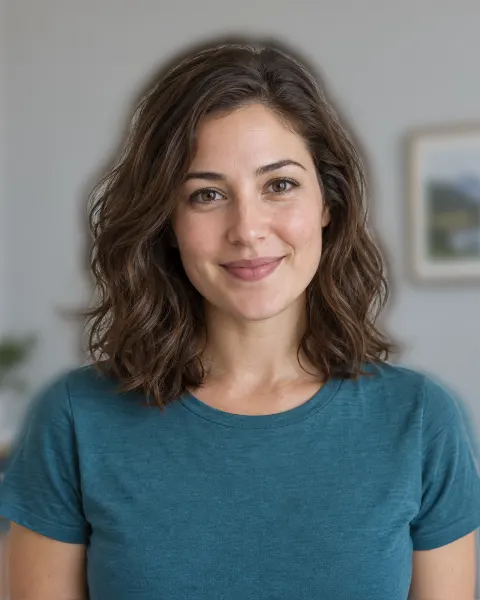 After · Blur background
Illustrative sample portrait generated for this guide; the after image uses this editor's browser segmentation and scene assets.
A portrait starts with a detailed room. After editing, the person stays sharp while the room behind them becomes soft; the original scene remains recognizable.
Tips for a believable result
- Begin with a modest blur and increase it only until distracting details become less noticeable.
- Look carefully around hair and shoulders. Background details close to the outline can reveal imperfections in the separation.
The model targets the prominent person in a still image. Fine hair, motion blur, crowds, or similar foreground and background colors can reduce cutout quality.
Four steps
- Open or capture a portrait
Use a local image file, or start the camera and capture a still photo after the optional timer.
- Let the browser find the person
The on-device model separates the prominent person from the original background once per photo.
- Preview blur
Inspect the result, move or fit a scene if needed, and adjust edge softness. Switch presets without repeating the cutout.
- Save the result
Choose PNG for transparency or JPEG for an opaque image. Nothing downloads automatically.
Common questions
Will blur make a blurry face sharp?
No. The foreground person comes from your original photo. This effect softens the background; it does not restore detail in an out-of-focus face.
Can I use blur to hide private information reliably?
Do not rely on blur to conceal sensitive details. Inspect the result carefully, or choose an opaque replacement background and check the edges before sharing.
Does this work with a webcam photo?
Yes. Start the camera, choose a timer if you like, and capture a still image. Camera permission is requested only when you press Use camera.
Does changing backgrounds upload my photo?
No. Portrait segmentation and composition run in your browser. The model and preset images are static files downloaded from this site.